Showing posts with label home improvement. Show all posts

Tuesday, May 7, 2024

Another home improvement-decor project

The wide-angle shot
With much appreciation to Bud for assisting with hanging this custom wallpaper, a project years in the making is complete.

It is rewarding when a vision becomes reality. I had been wanting to do a custom mural of trees on this long wall in the living room and searched through many Boundary Waters photos for just the right set of trees.

Not finding one I took advantage of a trip to Door County, Wisconsin in the winter of 2022 to take specific photos for use.

I edited the photo to just the right set of trees then overexposed the image to make it less realistic. Birch trees are everywhere in northern Minnesota and Wisconsin and create the vertical effect I wanted.

Photo edited mockup
In an internet search for custom wallpaper, I found photowall.com and submitted my order after a lot of measuring, double checking, and creating a photo mockup.

I ordered the custom wallpaper on February 25 and it arrived a little over a week later from Sweden!! It came in 5 different boxes with instructions and wallpaper paste! It arrived so quickly I wasn't ready to mount it. I highly recommend Photowall.com if you need any wallpaper. I did opt for the premium paper and am so pleased with it. The quality of the photo is outstanding, and you can order whatever size you want or need.

I was discussing the project with Bud at a restaurant when someone nearby interjected that I should consider sizing the wall beforehand. I had never heard of this but did some research and it sounded like a really good idea. So, I applied the sizing material to the wall yesterday and Bud and I hung the wallpaper today!

Nearing the end
I was very careful on getting the first panel plum. Figured it would all go very wrong if the whole thing was cock-eyed.

I haven't decided if I will put the Barbara Stanwyck posters back up. I can easily put them up or take them down as I kept the hangers available.

Again, many thanks to Bud for helping out.
Maggie wonders what all the fuss is about

The original photo of birch trees


Tuesday, March 26, 2024

Home Improvement - Kitchen Cabinets


Kitchen Project 2024 - Get the Cabinets Painted

I originally considered having the cabinets refaced. I contacted two different companies but one wouldn't work in downtown Minneapolis and the other company never got back to me!

My kitchen cabinets aren't really top quality and will probably need to be replaced at some point but in the meanwhile, I decided to have them painted. I saw blue cabinets on HGTV's "Love It or List It" and I really like blue so decided that would be the color. I also like the idea of having lighter top cabinets. I was inspired by the pillowcases on my bed!

I completely underestimated the impact this project would have on my and Maggie's lives. I hired an excellent painter, but this project required that I remove everything from the cabinets, select and purchase paint, and not use my kitchen for an extended period of time. I lost access to the refrigerator, stove, microwave, dishwasher, sink, etc.

The painter and his one-man crew did an excellent job masking off everything. It was a crazy combination of paper, plastic, and painter's tape. Since the kitchen is part of one big room, it was not a straightforward job.

We also had problems with the grey paint. I won't bore you with the details, but it took 3 tries to get enough of the right paint. And picking cabinet hardware! Oh, my. After scrolling through pages on Amazon and visiting multiple stores, I ended up choosing something very similar to what was on the cabinets in the first place! Ha!

I am very happy and pleased with the final project. Here is the link to my video (of course, there is a video)

PS - this project kind of celebrates my 3rd anniversary living downtown. I closed on the condo 3 years ago March 26th.

Tuesday, February 27, 2024

Master Bath Vanity Light Upgrade

Two things I did not like about the vanity light in the master bathroom. It was outdated and it didn't actually reach from sink to sink. You had to stand in the middle of the vanity to get full light (both sides of your face) but that meant there wasn't a sink below you. Not optimal.

Turns out you really cannot get a multi-light vanity fixture that is much wider than the one I had. I came across LED light bars that come in various lengths. To stretch from sink to sink it had to be at least 48 inches long. Turns out Maxim Lighting available at Creative Lighting in St. Paul has LED light bars in various lengths including one 48" long.


I was able to easily install the new fixture in a few minutes. It was a little tricky getting the wire nuts on as the unit is a bit wonky being so long. But it is very light weight, and I was able to maneuver it.


I really like the amount of light it puts out. The light is also dispersed really well.

I can now see both sides of my face when standing at either sink. Since the fixture is LED, I don't expect it to burn out any time soon...which is a good thing because I'm not sure if you can replace the LED bulb(s). There are no instructions.

I decided to use the old fixture with 4 lamps in the guest bathroom which had the same fixture but with only 3 lamps.

It looks good and brightens that bathroom as well.

The most time consuming part of the whole thing was cleaning the old fixtures. Apparently when the bathrooms were painted, the painter didn't worry about taking the glass globes off let alone the fixtures. The fixtures had paint on them that took some Goo Gone and elbow grease to remove.

Sunday, September 10, 2023

New carpeting

I think the carpeting in my condo bedrooms was the original from when the building was built in 2006. For the 2 1/2 years that Mrs. Kravitz the Roomba has been working, she has filled her bin with carpet fibers and gross dirt from the carpeting. I had the carpets professionally cleaned before I moved in, but it didn't seem to do much good.

Three rooms into one.
So, I finally made the decision to change the carpeting out. I went with Empire Today again. I used them for the carpeting in my Emerson house and the wood flooring in the rest of the condo. I also went with a top-of-the-line plush that feels oh so nice on your feet.

Three rooms into one.
The big challenge was going to be where to put all the furniture. The master bedroom and dressers had to come out and so did the loveseat and 2 bookcases from the office/guest bedroom.

Somehow it all fit in the living room!

Three rooms into one.


New padding.

Most comfortable spot.

Maggie did really well with whole ordeal and most importantly, she really likes the new carpeting.

Oooo, so comfy.
Maggie approves.

Ahhh.

The installers did a good job though I had to remind them that moving the furniture was part of the contract. Also, they could not make short cuts (literally) in the master bedroom around the baseboard heaters.

Sunday, January 16, 2022

Sometimes it is the little things (home decor)

 Not big changes but two little decor updates.

Swapped out the incandescent under microwave bulbs with LED bulbs. Brighter. Match under cabinet lighting. Saves energy.


Swapped the round coffee table for a round storage ottoman. I really like the color and having some pattern in the living room. I'm thinking the growing number of Maggie's toys have a new home when guests come over.


Saturday, November 13, 2021

What I did this summer

I'll cut to the chase. Over the summer, the flooring in my new condo was flooded. The condo I purchased at the end of March came with an engineered wood flooring that was only 2 years old.

By August what I thought was a "feature" of the flooring, was actually something going wrong. It was definitively discovered when I had to hire an electrician to fix a GFI outlet that wasn't working. Turns out it was working exactly as it was supposed to. The floor outlets in the GFI's line were FULL of water. The water was shorting out the outlets. The GFI saved the place from completing shorting out and who knows what else.

From that discovery it was weeks of various contractors trying to figure out what and where the water was coming from.

Minneapolis and Minnesota for that matter had a very hot and humid summer. A top 10 for heat. I won't bore you with the 5 or 6 visits by 4 different companies, the trying to convince the building managers to take it seriously, and the final determination that there was a blockage in the building condensation line below my unit.

My unit is the bottom of a 27 story building. The HVAC condensation lines all converge and take a 90 degree turn to travel across the lobby below me. Somewhere between my and the final outlet, a clog was backing up everyone's condensation into my unit.

My wood flooring absorbed all that water over the summer when we had these hot, humid days and everyone's air conditioning was running above me.

I had a mold test done. The results came back as non-toxic everyday mold. When the damaged floor was removed, they did not find mold. Thank goodness. They also disinfected the floor and ran a high-powered dehumidifier.

The building is paying for the investigation and remediation including removing the damaged flooring and all the wet underlayment.

State Farm, my insurance, has denied my claim for the replacement flooring. The claim adjuster is saying it is seepage over time and therefore not covered. It is certainly not seepage. The time element is the time it took to figure out what was going on. If anyone knows a lawyer that handles insurance or condo coverage, please get in touch. I am serious.

I could not wait for the insurance to get resolved and proceeded to get new flooring. I hated the bare concrete and it was very cold to walk on.

The following photos are in reverse chronological order. I would rather remember the outcome (except the insurance part) than what I have dealt with all summer and fall.

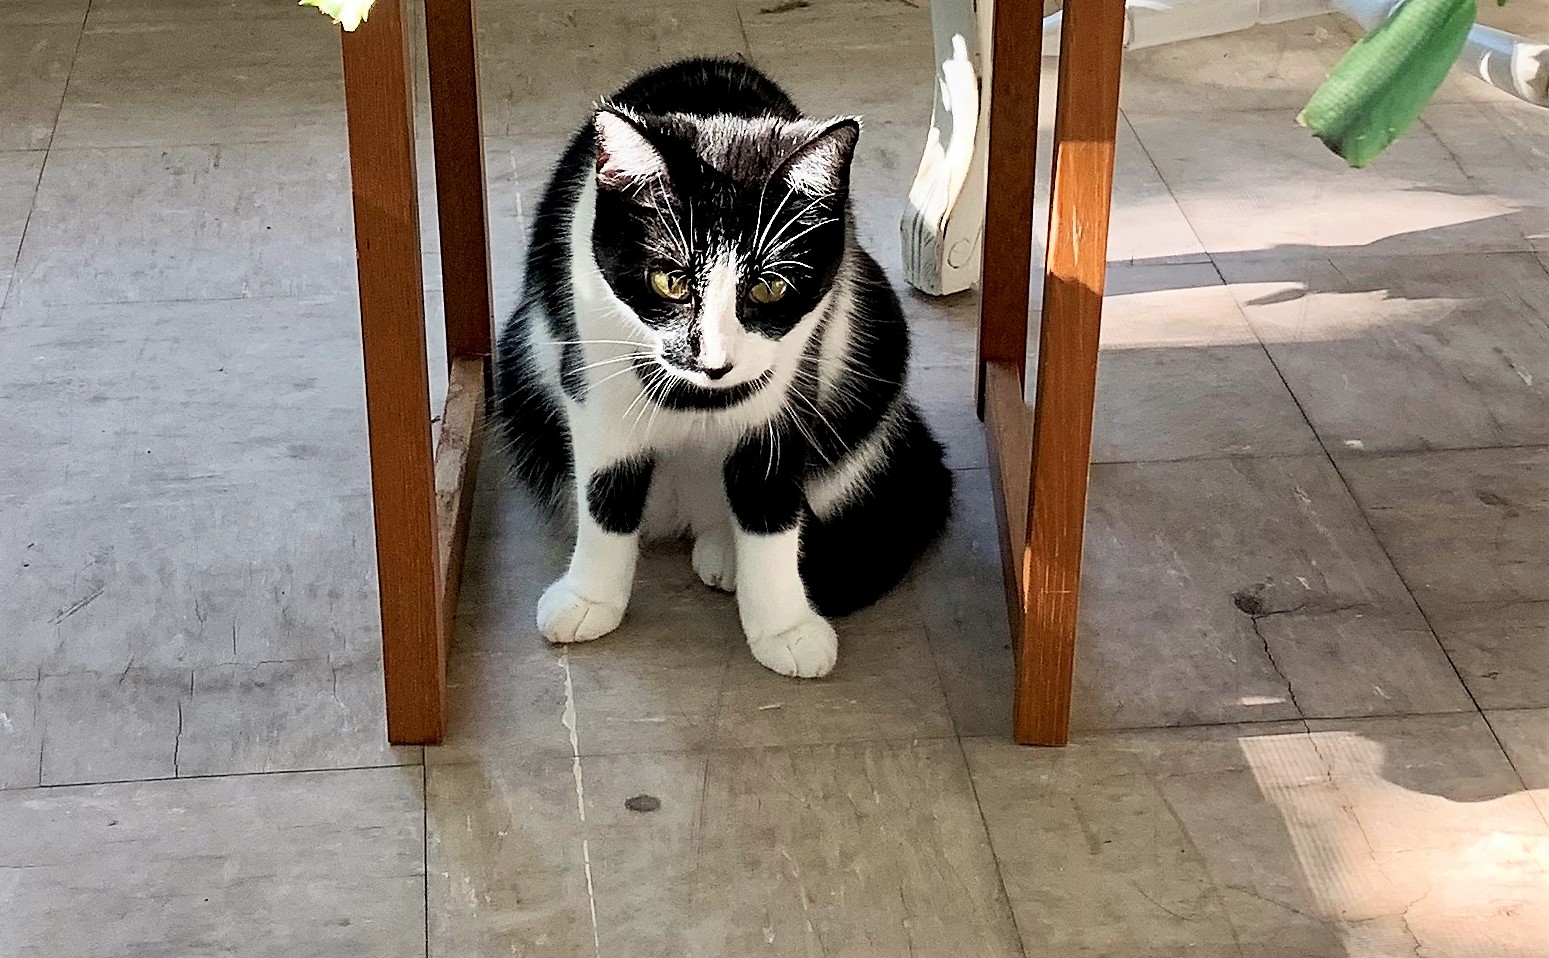
The new flooring and furniture back in with Maggie supervising.

Cleaning the new flooring before bringing back all the furniture.

The new flooring. It is not this golden. The color matches the cabinets more. The flooring is oak and the cabinets are maple.

The new flooring going in. Those radiators along the window wall were very tricky.

After the existing flooring was removed, an industrial dehumidifier was used (that large stainless steel thing near the cabinets). It was loud.

The previous flooring was all removed from the main room. The wet is the disinfectant that was applied and allowed to dry.

So many different companies and people came through trying to figure out the issue.

For mine and Maggie's safety, the main room was sealed off during the remediation.

The previous flooring and the corner where the flooding came from.

I recorded this inch of water in the electrical outlet. This occurred in less than 24 hours on our last hot and humid day in late September. 

The water collected in two of the floor outlets causing the GFI to stay tripped.


Sunday, June 20, 2021

Home Improvement - condo style

Storage is premium. I purged and purged from the house of 30 years. I am purging more. There are years of stuff to let go of.

But there is some stuff that you have to have. That includes towels and sheets for a two bedroom unit and impending guests. 

There is this space above the master bath toilet that isn't worth decorating. So I installed shelves to hold my towels and washcloths. I need a couple of baskets to make it look nicer.  

Thank goodness for having a Dremel tool. Wire shelves come in 36" length and the space was 35 1/2". Dremel with a grinder tool works wonders.

Having these shelves frees up space in the linen closet for the bedding.


Tuesday, March 23, 2021

Kitchen Project - Home Repair - sell prep

My kitchen has needed a new paint job for a while. Nothing like selling my house to push me to do it.

There were a few places to repair like the ceiling where the paint had peeled off due to a freeze. And around the radiators where I removed the quarter round which pulls plaster off with it.

The paint was a gallon of very dark green exterior that I bought when I thought I was going with a tri-color job on the house. I toned down the green with left over white paint. I think it came out pretty good. Totally by accident the color matches the dark green tiles in the backsplash.

Plaster repair in progress

Ceiling and spackling patched

Custom mix

Custom paint color
Matching tile


Tuesday, October 6, 2020

Front Porch Project

 Going to start with the after photo because I don't have a good before and the before was hideous.

I haven't ever really used by front porch for a couple of reasons. My house sits at the front of the property so my porch is very close to the sidewalk and the street. It seems odd and uncomfortable for some reason being so close to the sidewalk. But mostly the porch has been kind of skanky. The floor was awful and it just felt abandoned -- because it was.

Spending the Spring, Summer and now Fall in the house, I decided to spruce the front porch up. I got vinyl plank flooring at Menards way back in the early summer. It was either too hot and humid, raining or I was too tired to work on it.

Finally when it cooled down in the late summer I got at it. Once I really started work on the project, it went fairly quickly.

The old floor was a linoleum tile squares. A few were completely loose but most took some effort to get up. Once I came up with a technique, it went fairly smoothly though I did get a nice stigmata like blister in the palm of my right hand.

The biggest decision was which direction to lay the flooring in. I did some research and decided that having the planks "guide" toward the entry was the way to go. Once that was decided, laying the vinyl plank flooring was not bad. However, I can't tell you how many times I cut the wrong end of a plank but that just became the next row.

I re-used the quarter round after repainting white. I added a piece of furniture that Kelly gave me - I think I'll white-wash it so it is beachier - and added a lamp. I already had the two-seater.

I super pleased with the end results and feel like I could actually sit out here and enjoy.

After with staged furniture

After with planks drawing you to the front entrance

In progress. Once I got around that corner, it went quickly

All the nasty linoleum gone

Maggie on the nasty linoleum. My only before photo.

Sunday, December 1, 2019

Home Improvement - dish drawers

It is hard to believe that my kitchen remodel was in 2001. Eighteen years ago! It involved stripping to the studs where possible and all new cabinets and appliances.

Two primary reasons for the remodel were to position the refrigerator so it could actually be used and to install a dishwasher. Due to very limited and restricted space, the dishwasher solution was resolved with dish drawers from Fisher-Paykel. Turned out to be a brilliant solution because each drawer can be run independently which saves energy but also means, as a single  person, there isn't guilt for using a dishwasher frequently.

Dish drawers need about 22" to open. Regular dishwashers need at least 24" to open. I don't have 24" to spare.

After 18 years and nearly daily use, the electronics of the top unit were starting to act up. Rather than wait for failure, I bought myself an early Christmas present. A new double dish drawer unit.

Having installed the first one with my brother, I figured I could install this one. It first required uninstalling the first one. Way easier said than done. Since Warners' Stellian was going to take the old one for free with delivery of the new one, I had to get the old one out Friday night. It took a few hours to figure it out but did succeed finally by myself.

The new one was delivered right on time early Saturday afternoon and took several hours to install. But it is fully installed, operational and the kitchen completely back in original condition.


With this model, the top drawer is deeper than the bottom drawer. I'm hoping this works out. I can still get my regular dinner plates and fry pan in the bottom so its good.

Saturday, April 6, 2019

Window project

A project I've been wanting to do for a long time (actually, I didn't really do anything except order and pay for it): Replace the upstairs windows - the bathroom window and the window above the steps.

The windows were vinyl double-hung casements with exterior storms. To get air I had to open the inside window then open the outer widow then pull down the screen. The widow above the steps was too precarious to do all that.

They are both now replaced with awning windows. They crank to open. The screen is fixed on the inside. These are Renewal By Andersen windows. The screen is virtually invisible.

Sergei, my installer, was very patient, courteous, diligent and industrious. Like everything in My Old House, there were challenges. The awning windows are actually substitutes for the original idea to have casements. The window openings were too small for casements so we switched to awning style.

Back to the install... The windows had to be set deeper in the frame than normal. Sergei devised a way to make it work and look good. And he asked me for my input.

The photos are in reverse order.

Finished

The frank (bottom center). Locking mechanism (left and right). Locking mecha (left and right)

The old window is gone

The old vinyl window

I can highly recommend Renewal By Andersen. They handled everything including the permit, lead testing and abatement, removal and install, clean up, scheduling the inspector, and even carbon monoxide and smoke detectors for code.

Tuesday, October 16, 2018

Small kitchen update

The update is more of a throwback. Swapped out the upper cabinet knobs from brass to green glass. Wanted some sparkle in my small kitchen.

The new knobs are from  India. You can get anything on Amazon. It was, of course, more of an effort than just swapping knobs. There was one trio to the hardware store, drilling and metal cutting involved!

It doesn't seem possible but the kitchen remodel when the brass knobs were purchased was 2001! I still love my kitchen.

Glass knobs on pantry doors

Brass knobs on the pantry doors
Brass knobs cabinet over sink

Glass knobs cabinet over sink with back splash